To show Powerpoint slides on the two screens in a MDCHS classroom, you will need to build two slideshows, the slideshow for the left screen and the slideshow for the right screen.
Ensure the desktop is set up for Extended Display. If it is not, press the Windows key and the letter P at the same time. Change Multiple Displays to Extend these Displays.
Start Powerpoint. Open the Powerpoint file for the screen on the left. Open the Powerpoint file for the screen on the right. Drag the Powerpoint instance that is opening the file on the right to the screen on the right.
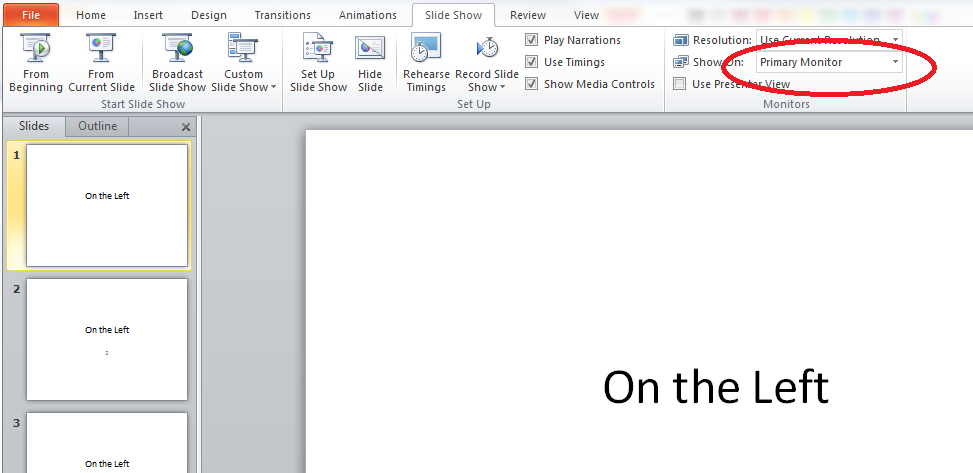
Click on Slideshow for the screen on the left. Make sure that the Show On field is set to Primary Monitor. Start the Slideshow.
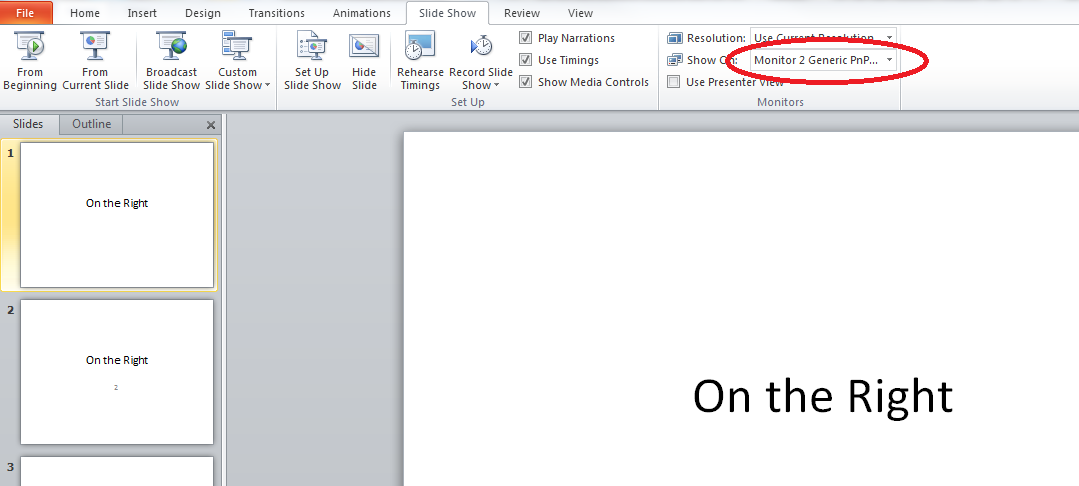
Move your cursor to the Powerpoint on the right. Click on Slideshow. Make sure the Show On field is set to the secondary monitor. Start that slideshow.
To advance the slides, your cursor must be resting on the screen that you wish to advance.
Showing and Recording a Laser-like Pointer
If you are recording the Slideshow and want to user your cursor as a pointer, and make sure your students can see it on the recording, as well as in the classroom, you will need to Capture Primary Screen as well as Capturing the Powerpoint.
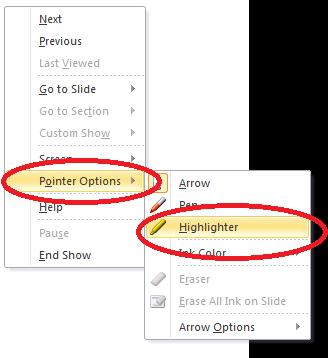
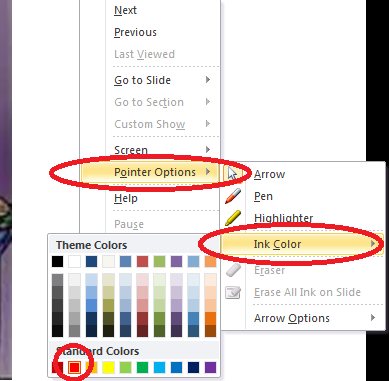
Start the slideshow and right click to choose Pointer Options and Highlighter. Then right click again and choose Pointer Options and Ink Color and choose a color that will show up well against your slides.
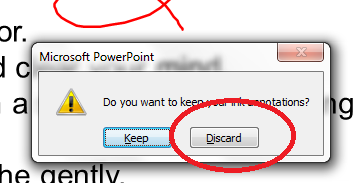
Now your cursor will be larger and more colorful, and you can also draw arrows with it. When your slideshow finishes, and you are asked if you want to keep your ink annotations, be sure to choose DISCARD, or those arrows will be saved on your slides.
![]()
To start Panopto recording after you have the two slideshows on the correct screens, press F8. To pause or resume recording, press F9.